
Print resolution refers to the level of detail in a printed image. It can be measured in dots per inch (DPI), which is the number of individual dots that can be placed within a span of one inch. Based on that understanding, it is safe to assume that a low DPI has fewer dots per inch, which leads to blurrier, "blockier" images, while a higher DPI has more dots to close the gaps, resulting in clearer, sharper images.
The typical value for professional-quality images is 300 DPI, which simply means that individual dots can no longer be discerned by the human eye, giving it its smooth appearance. This is why 300 DPI is often the minimum value for brochures, flyers, and other marketing materials.
DPI vs. PPI
You may have heard of "PPI" (pixels per inch), which is another measurement of resolution. While it is often used interchangeably with "DPI"—especially since a high PPI value also results in sharper images—there are a few important differences. The main distinction is that PPI is often used to refer to input resolution, or the display resolution of the screen, while DPI refers to output resolution, or printer resolution.
In other words, the DPI is a physical "dot" that is printed on paper, while PPI refers to the number of square pixels on a computer display.

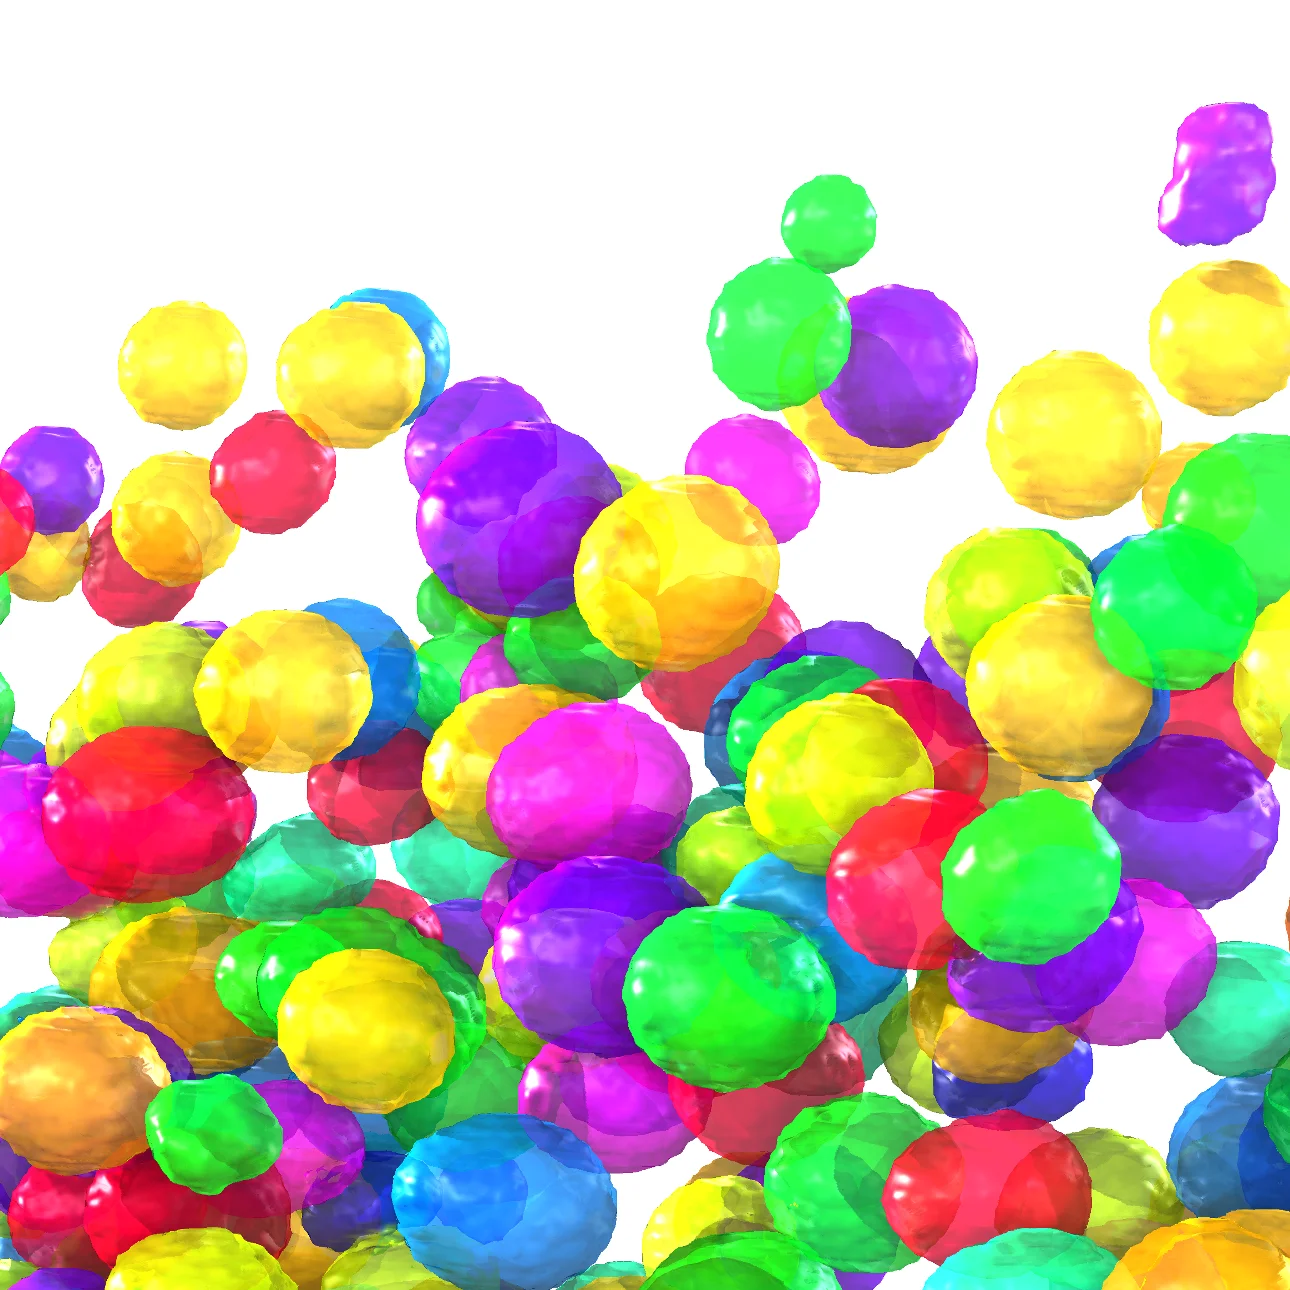
A low-resolution image (left) uses fewer "dots," which makes the objects look blurry and pixelated, while a high-resolution image (right) smooths out these rough edges.
So let's bring this back to VGSTUDIO MAX! If a higher DPI value results in sharper images, all we need to do is increase the scale percentage under "DPI," right?

Increasing the "DPI/Font size" scale percentage increases the text overlay.
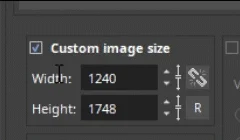
Not quite! Changing the DPI value only affects the image text overlay and tripod. What we can do is adjust the pixel dimensions of an image in VGSTUDIO MAX. Let's take a closer look at the "Save images" dialog, where we can adjust the export settings of the image.
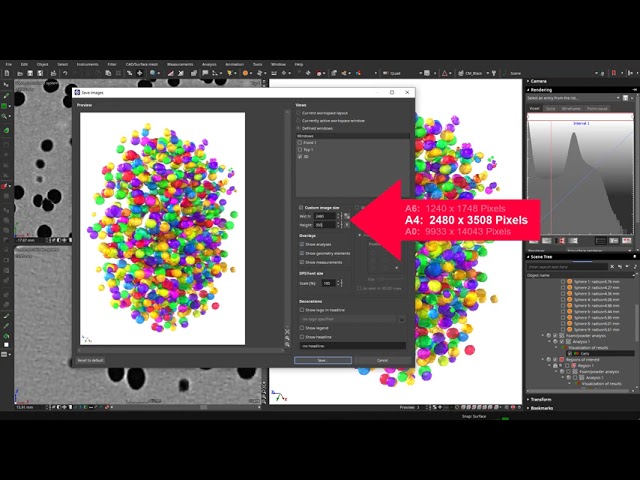
As shown in the video, we can adjust the pixel dimensions based on our format requirements.
Did You Know?
Here are the most common formats you will probably encounter in everyday life:
- A6 (postcard size), 105 x 148 mm, 1240 x 1748 pixels @ 300 dpi
- A4 (brochure size), 210 x 297 mm, 2480 x 3508 pixels @ 300 dpi
- A0 (poster size), 841 x 1189 mm, 9920 x 14032 pixels @ 300 dpi
- Letter, 216 mm x 279 mm, 3295 x 2551 pixels @ 300 dpi
- Legal, 216 mm x 356 mm, 4205 x 2551 pixels @ 300 dpi
- Ledger, 279 mm x 432 mm, 5102 x 3295 pixels @ 300 dpi

In other words, if we want to create a brochure, which is typically A4, we can just adjust the pixel dimensions to that size. However, if we want our image to be even sharper, we can just double the pixel dimensions and scale the image down for that extra crisp.
Remember: it is easier to scale down an image with sharp quality than to scale up a small image and risk losing image quality.
Ready to Learn More?
Users of VGSTUDIO MAX can find out more about saving, importing, and exporting images in the tutorials in the software.
Got a Story?
If you have a VG Story to tell, let us know! Contact our Storyteller Team at: storytellers@volumegraphics.com. We look forward to hearing from you.
