This page is not compatible with Internet Explorer.
For security reasons, we recommend that you use an up-to-date browser, such as Microsoft Edge, Google Chrome, Safari, or Mozilla Firefox.
What's New in VGMETROLOGY
Discover the Exciting New Capabilities of Version 3.2 (as of December 2018, Version 3.2.3)
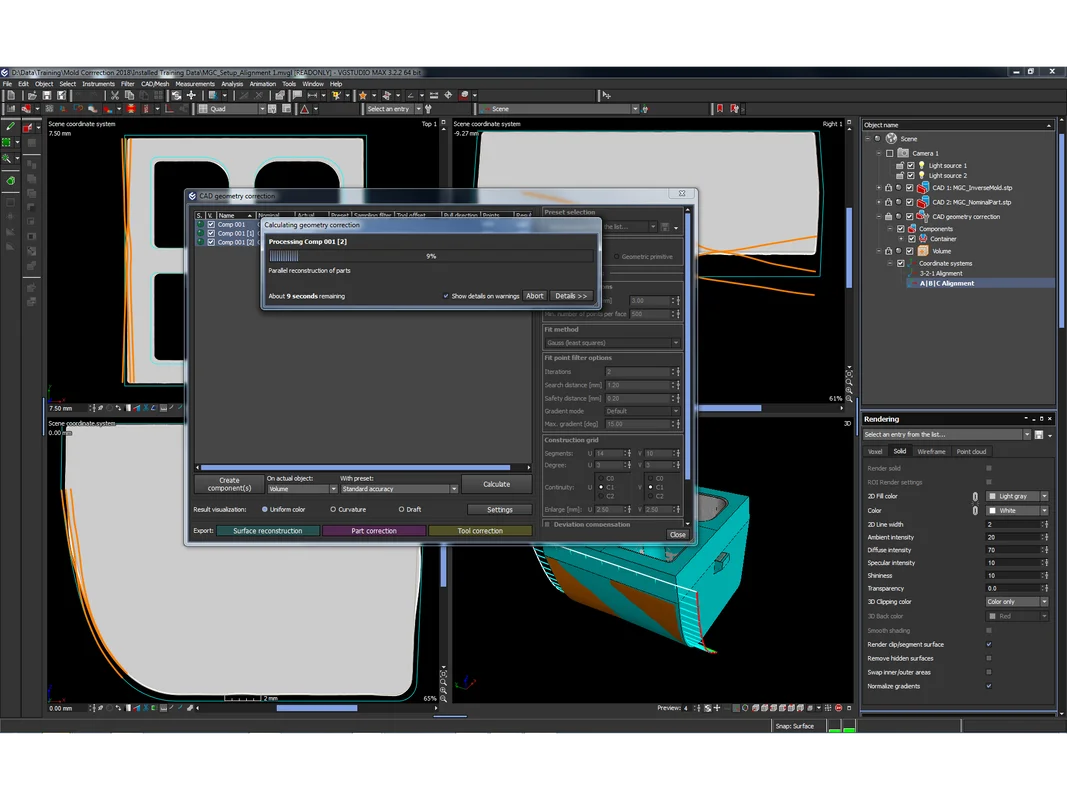
Automatically Update a Geometry Correction (New in 3.2.2)
Automatically update a geometry correction when using a new registration to, e.g., find the registration that leads to the smallest or least costly correction: Duplicate a CAD geometry correction including all referenced objects; then change the registration on the duplicated parts, update the CAD geometry correction, and finally directly compare the results.
From Tool Correction to 3D Printing Geometries
The new Manufacturing Geometry Correction Module for VGMETROLOGY (Coordinate Measurement and Nominal/Actual Comparison Module required) combines the manufacturing, testing, and correction of tools and components into a seamless digital workflow. It is a cost effective, easy to use, and versatile method for tool correction, surface reconstruction of a manually reconstructed tool, and part correction of 3D printing geometries.
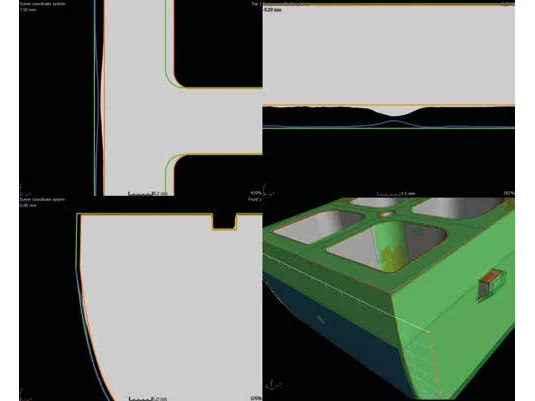
Correcting Injection Molding Nests
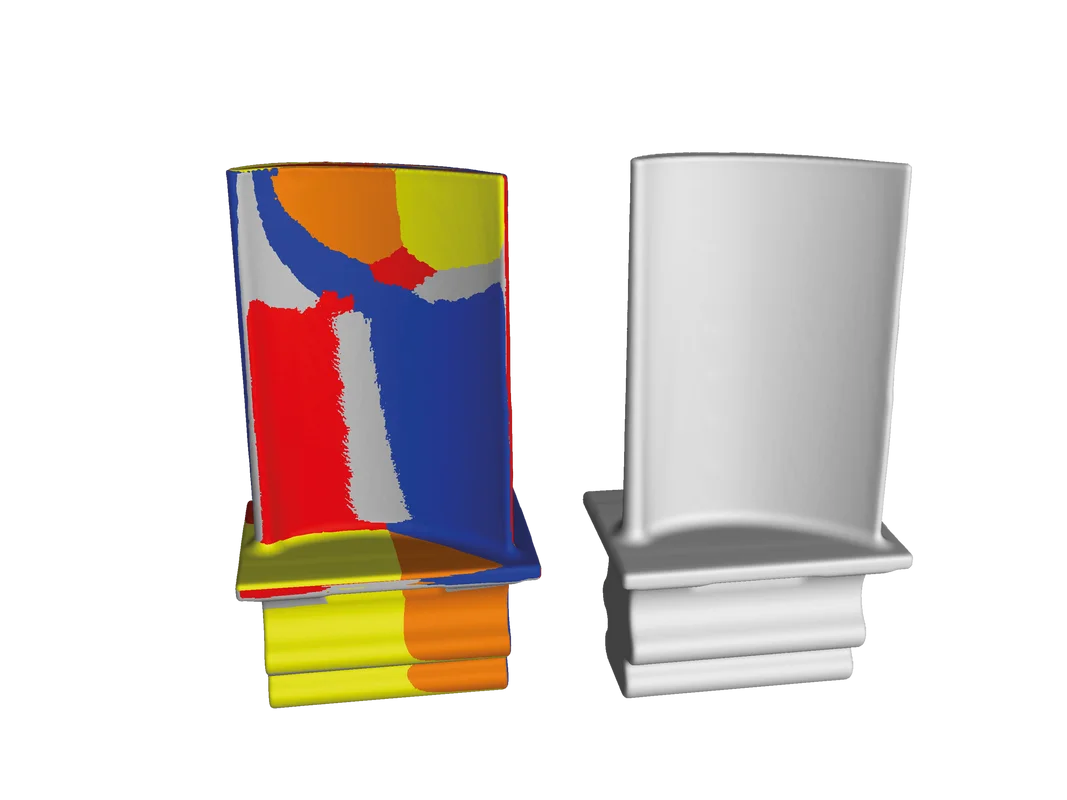
In VGMETROLOGY, you can use the Manufacturing Geometry Correction Module in combination with our new “golden” surface function to correct an injection molding tool with multiple identical nests. The golden surface function lets you create an average surface of the parts coming from the different nests which is the best basis for correcting the geometry of the nests—whereas variances between the nests are more likely an outcome of inhomogeneous process parameters.
Define a Measurement Plan Even If No CAD Model Is Available
The average surface—created with the new golden surface feature in VGMETROLOGY—can also be used as a basis for the definition of a measurement plan if no CAD model is available. This lowers the number of errors when applying the measurement plan to multiple scans, especially in automated inspection.
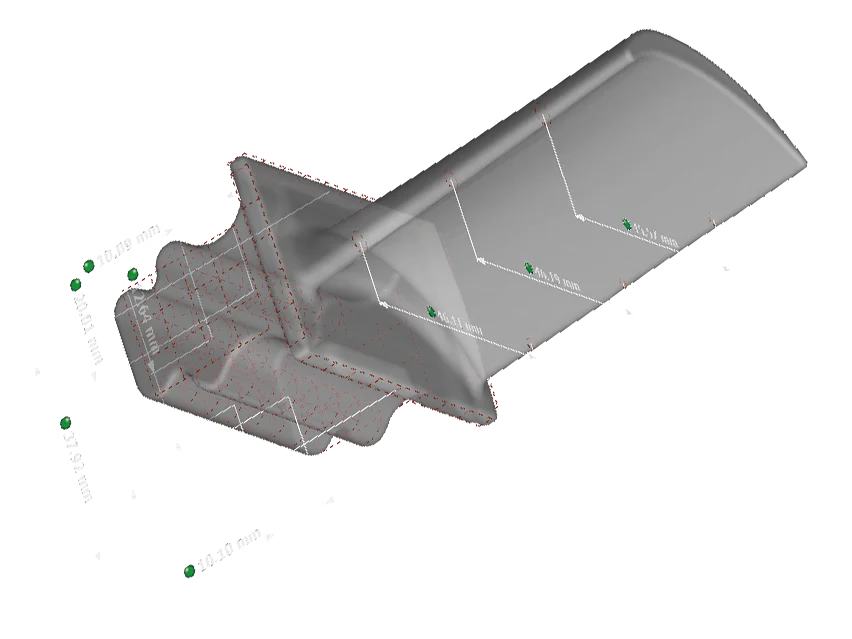

Align Two Objects Intuitively
Sequential alignment is a completely new method to register two objects against each other based on corresponding pairs of geometry elements, without first having to register each object to a coordinate system. This intuitive step-by-step process is similar to what you would do with physical objects. The result of each alignment step is immediately visible. If not all degrees of freedom are important, the alignment can remain incomplete. Or set the remaining degrees of freedom by using the best fit method.
Use Organic Shapes as a Datum
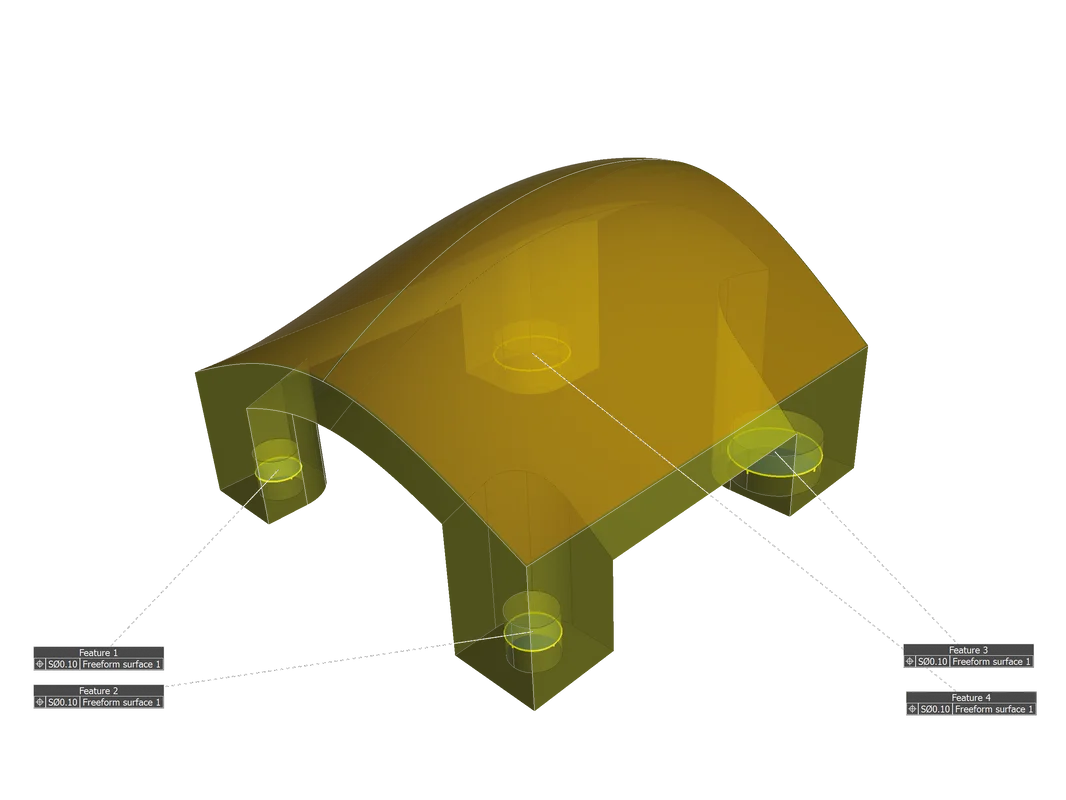
With the support of complex datums, we’ve added the option to use freeform surfaces and combination of surfaces as datum objects for registration and geometric tolerancing. This is useful in cases where organic shapes, e.g., a car dashboard or cavities of connectors, should be used as a datum.
Recognize the Tolerance Status Immediately
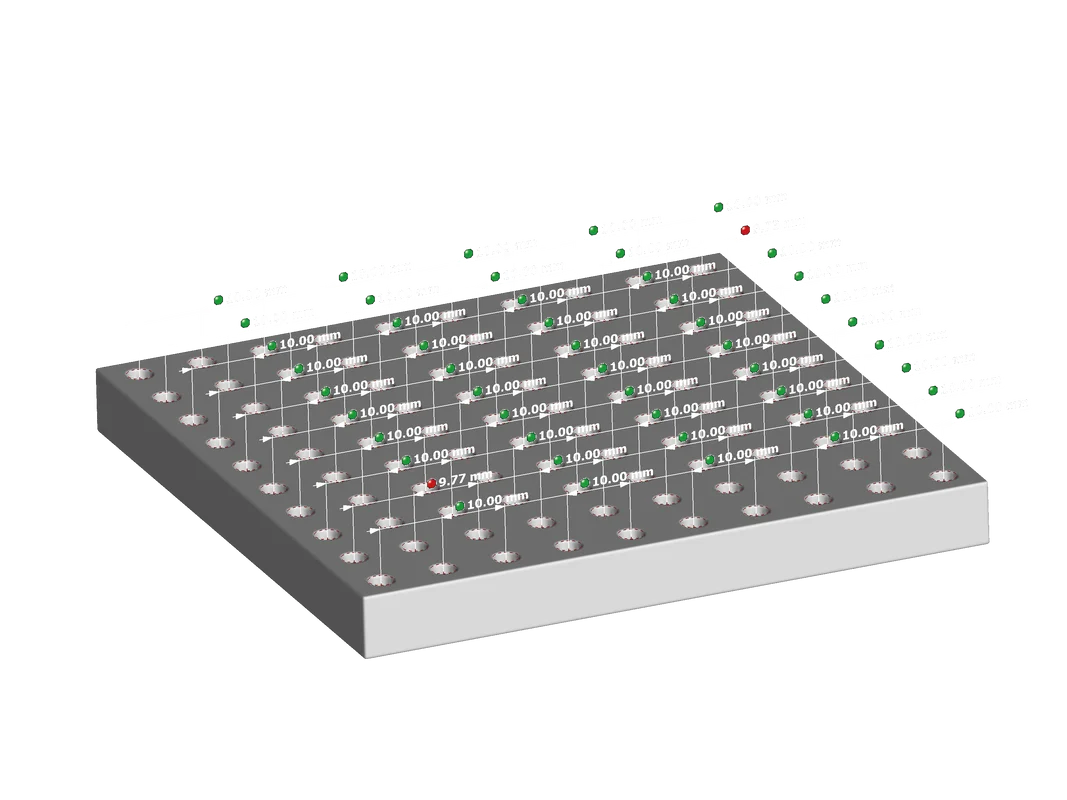
You can now see at a glance if a dimension is within tolerance in all views—without looking at the Scene Tree or numerical values. In VGMETROLOGY, the tolerance state of dimensioning features is now optionally shown in all views by evaluation indicators.
Generate “Watertight” .stl Meshes
A new “grid-based” algorithm in VGMETROLOGY extracts surface meshes not only much faster. They are now also “watertight“, meaning that the meshes fully enclose a volume with no gaps or holes. This makes them perfect for most types of 3D printing.
Improved Automation
VGMETROLOGY 3.2 comes with a completely reworked and extended automation tool. It now supports the socalled “jobs” known from VGinLINE. Drawing from the full scope of available analyses, jobs combine macros, template, and all referenced data into one automation workflow.
If-then statements in jobs allow for even more complex automated inspections. For example, you can determine that further analyses are skipped if the part is already out of tolerance.
Also, input and output paths of macros can now be edited, saving you the time to re-record a macro.
Quickly Assess Defects or Geometric Deviations across Multiple Regions
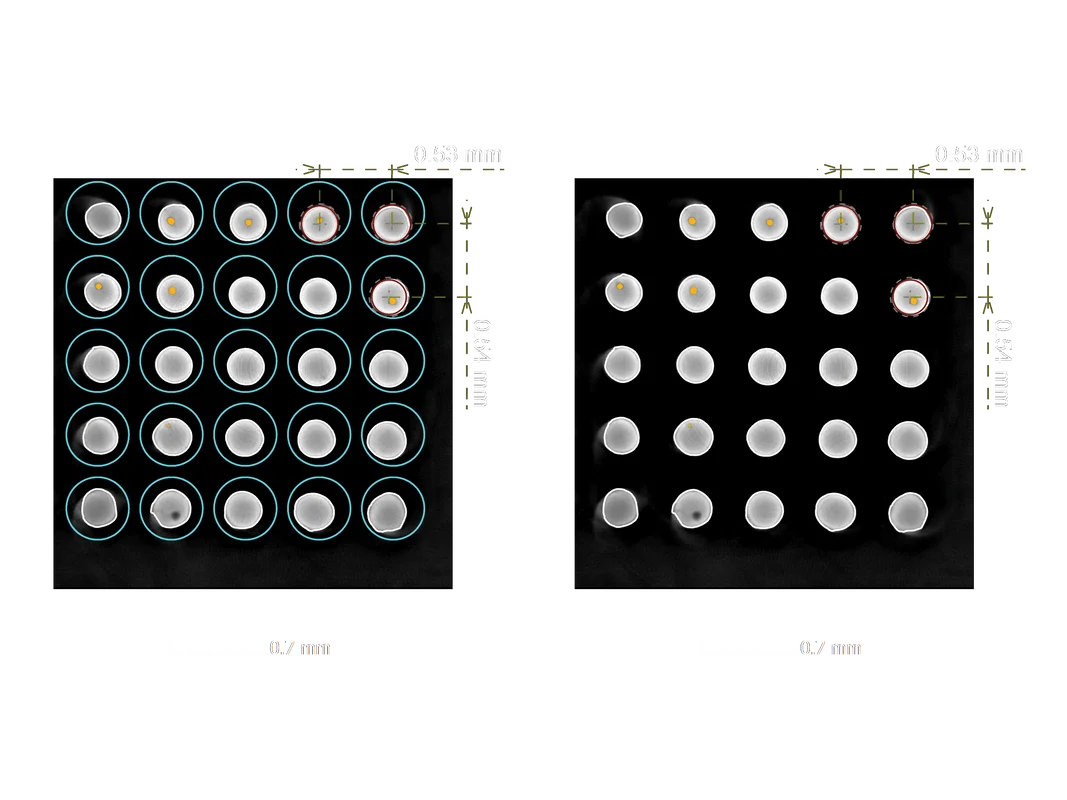
Version 3.2 makes analyzing repetitive structures such as cylinder heads or Ball Grid Arrays a breeze. You can now quickly copy one region of interest (ROI) multiple times into a periodic pattern; all analyses within this ROI, e.g., a defect analysis or a nominal/actual comparison, will be copied automatically.
NIST Tested
The Volume Graphics Metrology Kernel VGMK 3.2.0 140356 (Windows 64 bit) is now tested by the NIST’s “Algorithm Testing and Evaluation Program for Coordinate Measuring Systems”.
Separate Color Bars
You can now define separate color lookup tables for each instance of an analysis. In this way, the color coding can reflect tolerancing criteria which vary between different regions (ROIs) of the object.
Direct Access to Color Bar Settings
Accessing the color bar settings directly from the 2D/3D views makes adapting them to your analysis even easier.
Tolerance Indicators within Annotations
By including the tolerance indicators in the annotations, you can now localize defects that are out of tolerance in all views much more quickly.
One-click Update of Analyses
With just one click, you can now update even a high number of analyses for an object, which is enormously time-saving.
File I/O
- Dragging and dropping mesh files into the scene now saves you time when importing meshes (new in 3.2.3)
- Respect the slice position when importing a stack of .tiff images, e.g., when importing image stacks with varying slice spacing generated by CT systems with line detectors (new in 3.2.2)
- More robust and faster import and export of JPEG2000 files, which are ideal for archiving because of their high quality and high compression, on PCs equipped with SSD disks
- Increased compatibility due to updated formats for the import of native CAD files

Global Floating License: Use Software Flexibly Worldwide
Global companies can now use one license at different locations in different time zones throughout the world. With this new Global Floating license type, you require fewer licenses compared to other license models.
Each of these Global Floating licenses can contain a different add-on module configuration. A user can start multiple instances of the software on the same computer without each one counting as a separate license.
Global Floating can do even more: “Borrow” a license from your Global Floating license pool for a limited time, e.g., for a business trip or a conference.
Global Floating is an additional license model to the existing floating license. It’s available for VGMETROLOGY, and VGMETROLOGY ES (both with or without add-on modules).
Navigation
- A more fluent navigation in the 3D view when handling complex scenes with a large number of objects, ROIs, analyses, and/or analysis annotations. (New in 3.2.2)
- Preference setting to choose between mousewheel in 2D views either slicing through the object or zooming
- Added the possibility to center and focus a view with double middle mouse click in the spherical navigation mode
- Improved performance of the spherical navigation mode
Visualization
- Improved performance of switching the workspace views
All Analyses
- Save time when analyzing repetitive structures such as cylinder heads or Ball Grid Arrays in VGMETROLOGY ES: You can now quickly copy one region of interest (ROI) multiple times into a periodic pattern; all analyses within this ROI, e.g., a nominal/actual comparison, will be copied automatically. (This feature was already available in VGSTUDIO MAX and VGMETROLOGY.) (New in 3.2.2)
- The assessment of defects or geometric deviations in components with mirror-symmetric regions of interest (ROIs) gets much faster thanks to a new mirroring option for the “Paste pattern of ROI(s)” option: ROIs on a mirror-symmetric part (including all analyses, CM elements, etc.) can be duplicated on the opposite side; all copied analyses can then be updated by one click using the "Update all analyses" button. (New in 3.2.2)
Coordinate Systems
- Introduced local coordinate systems in the Scene Tree, which can be copied with CM templates from one object to another
Geometry Elements I
- Use the new import and preview options in the "Fit geometry element" dialog for a more convenient creation of geometry elements, e.g., to compare measurement results between CT and other measurement methods: Simply import or copy and paste them from external sources like .csv files or Excel sheets – no fixed .csv formatting required. (New in 3.2.2)
- Fitting of a large number of geometry elements is now much faster using Ctrl + right mouse button for confirmation – thus eliminating the mouse travel between the geometry element and the fitting dialog. (New in 3.2.2)
Geometry Elements II
- Improved the performance of the smart expand geometry element fitting option which can now be used as default
- Saved fit point information can now be used in macros
- Extracted medial axes and other freeform lines can now be toleranced in several geometric tolerances
- “Create ROI from geometry element” now also allows to extend the ROI only perpendicularly to the element surface
Geometry Elements III
- Added a handy new option for including or excluding holes when creating an ROI from certain geometry elements, e.g., for creating a cylindrical ROI with “lids” on the top and bottom
- Added an option to include or exclude holes when creating a mesh from certain geometry element types
- Improved freeform surface fitting logic to achieve better results with fewer clicks
Datum Systems
- The option to “Project T.” for datum elements specified in the geometric tolerancing dialog is now enabled by default.
Registration
- Added an option to store multiple registrations on one object and to switch between them to see which out of several possible registrations minimizes the deviations to a reference object; measurements are updating accordingly.
Dimensional Tolerancing
- Added a preferences option to hide the CM group name for datum elements in GD&T annotations
- Added an option to automatically set the nominal position values of a position tolerance, which is less error-prone and faster than manually entering them.
Object Conversion
- New options to create small files with surface-only volume objects by creating golden surfaces, removing volume data or by converting CAD or mesh objects
Macros
- The merging of multiple mesh objects into one new mesh object is now macro-recordable. This makes it easier to automatically analyze or measure objects that are represented by several separate meshes, e.g., when all of them should be displayed with a unified color plot with one nominal/actual comparison. (New in 3.2.2)
- Save time when generating jobs with parallel but similar branches by copying and pasting steps. (New in 3.2.2)
- Macros recorded on a single object can now be automatically applied to a whole set of similar objects for “in-scene batch processing”.
- Multi-applying a single macro can now be aborted.
- “Save movie/image stack” is now macro recordable and thus available in batch processing mode and VGinLINE.
- Create mesh from geometry elements can now be recorded in a macro.
CAD Import with PMI (Optional Add-on Module)
- Create more meaningful names faster: Use balloon numbers created in Creo 4.0 as a prefix for the feature name when importing PMI data. (New in 3.2.2)
- Import only what you really need: Limit the PMI import of dimensions and geometric tolerances to those with a balloon number attached. (New in 3.2.2)
Manufacturing Geometry Correction (Optional Add-on Module)
- Improved the usage of nominal/actual comparison for the Manufacturing Geometry Correction Module
- Improved the 3D navigation for CAD geometry correction objects that do not yet have any components
Annotations
- Added the time-saving option to create analysis annotations by pasting previously copied coordinates from the clipboard
Reporting and Traceability
- It is now possible to export and import a volume’s meta information in .csv format (e.g., from a barcode scanner), both manually and via macros, saving time and reducing errors.
Volume Graphics GmbH
Speyerer Straße 4-6
69115 Heidelberg
Germany
Phone: +49 6221 73920 60
Fax: +49 6221 73920 88
Sales enquiries:
sales@volumegraphics.com
Modifications and errors reserved.
